Appearance
3D elevations
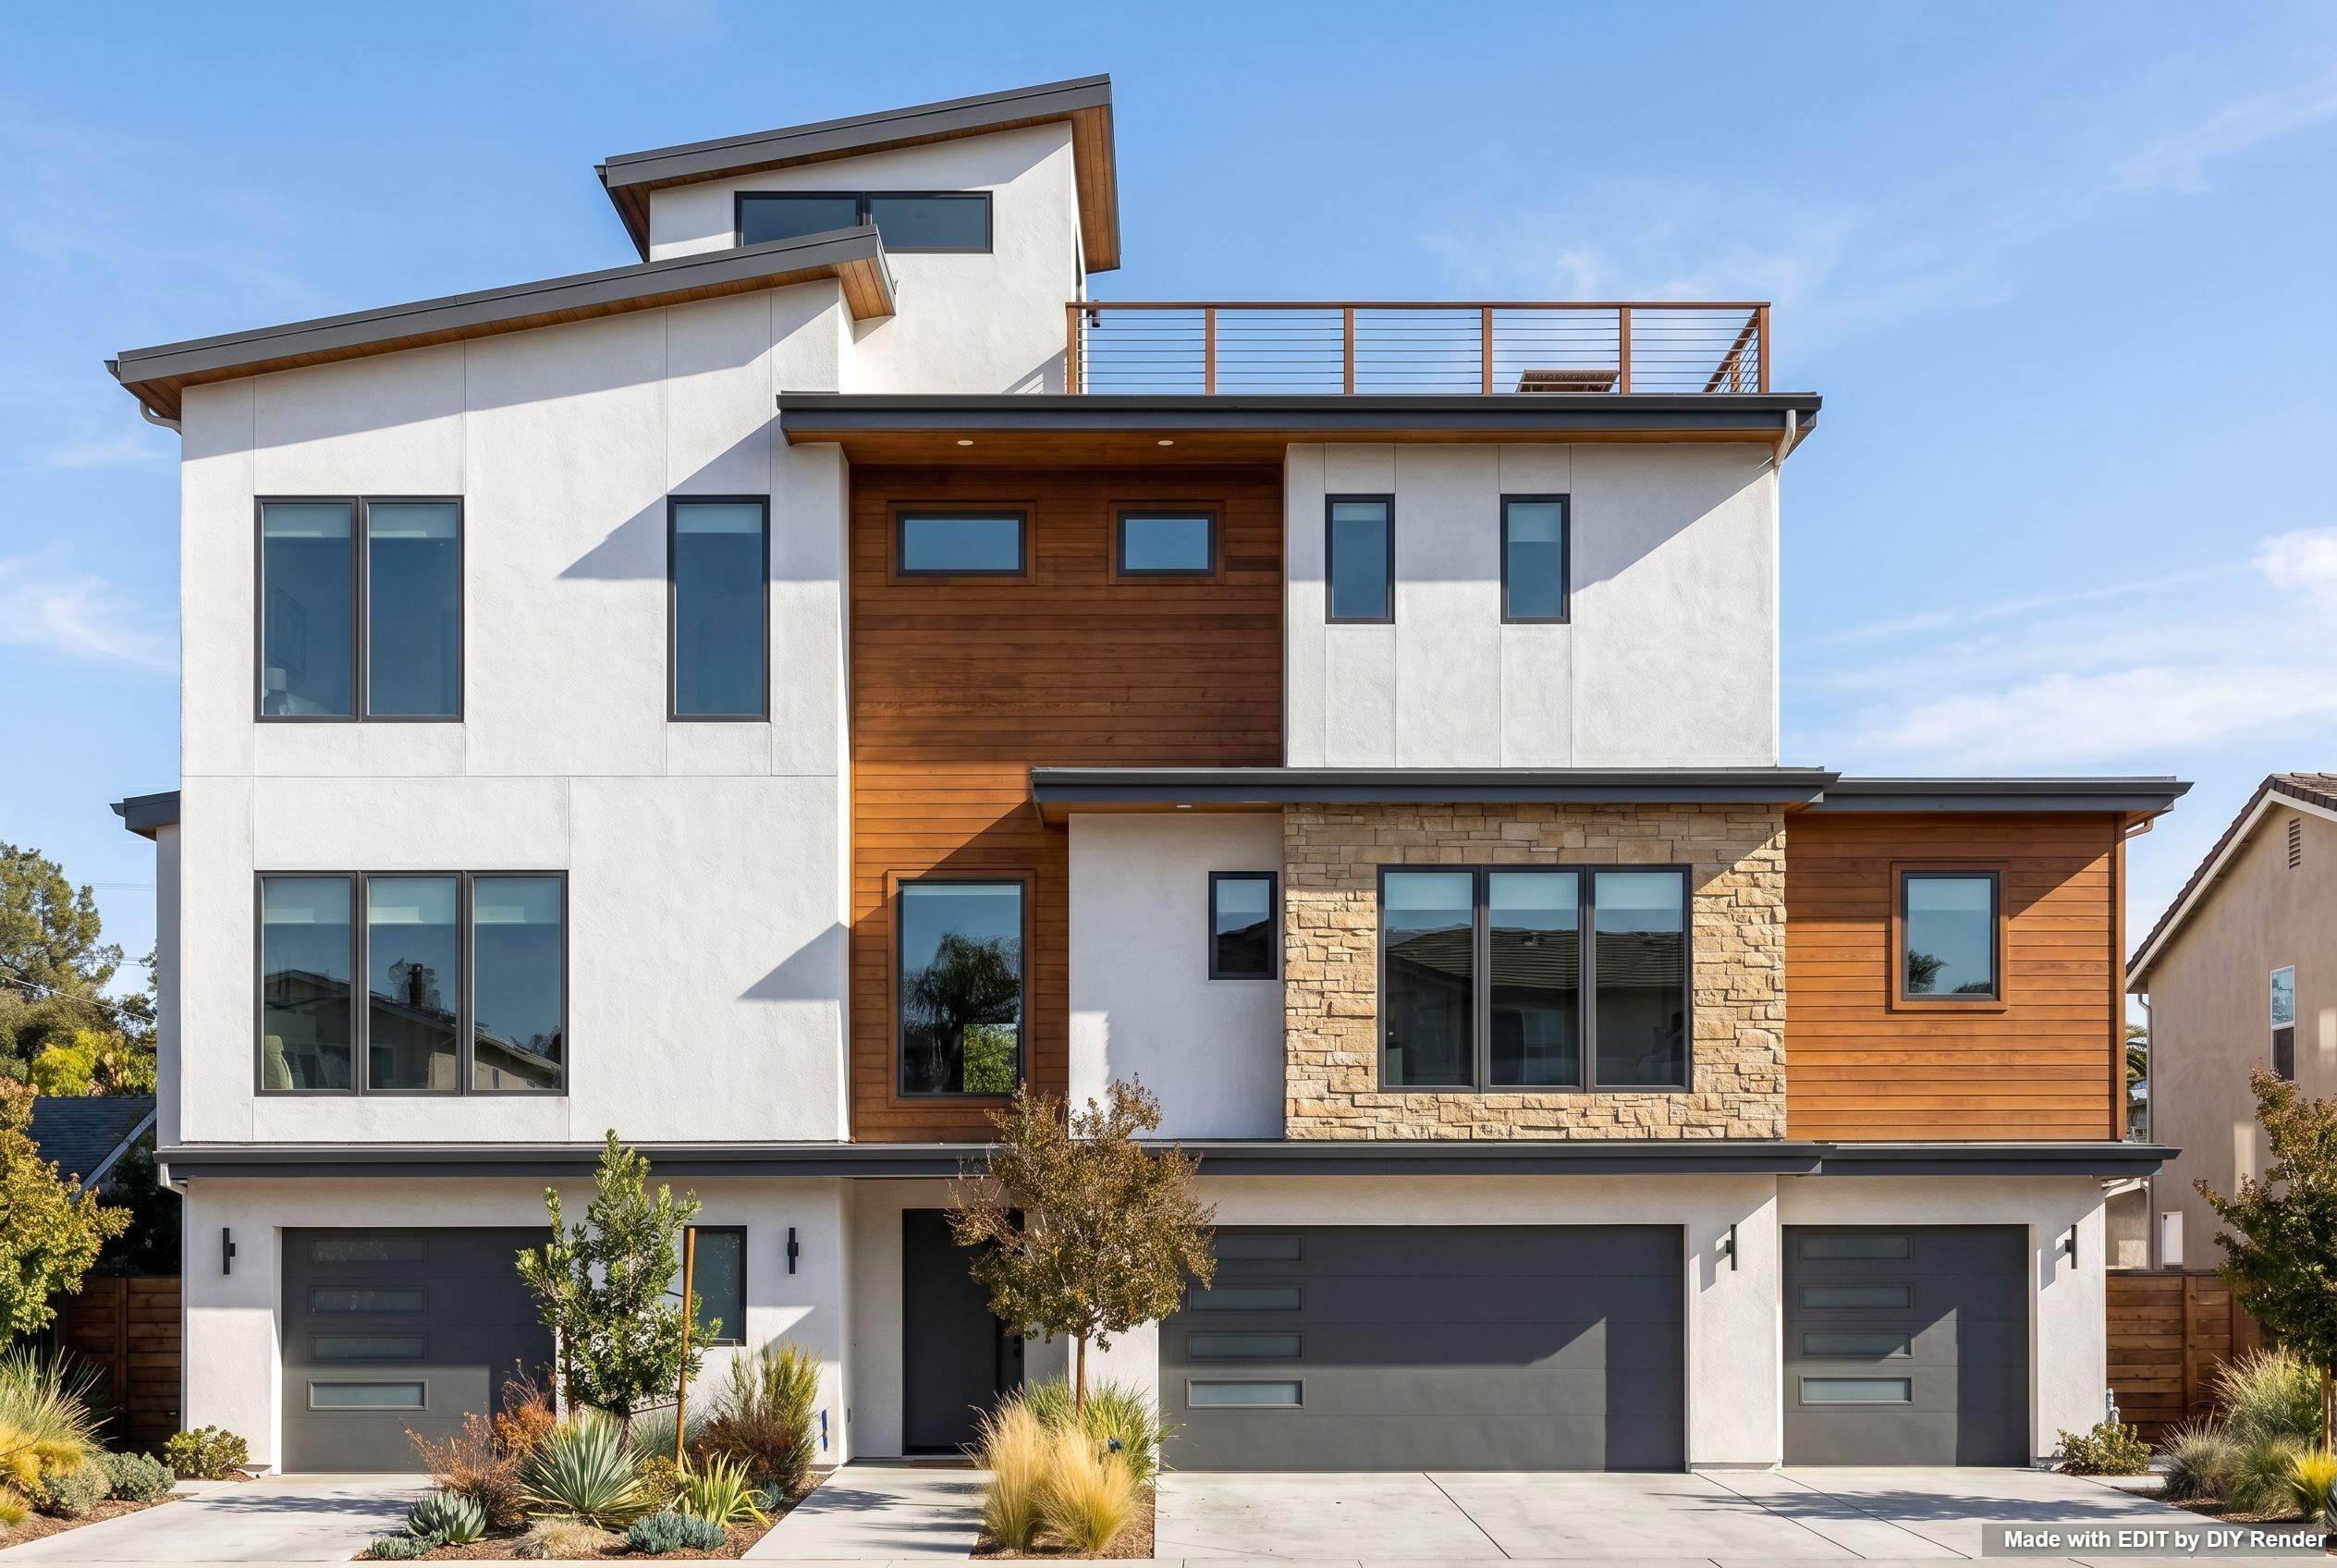
Turn a flat colored elevation into a photorealistic 3D exterior render.
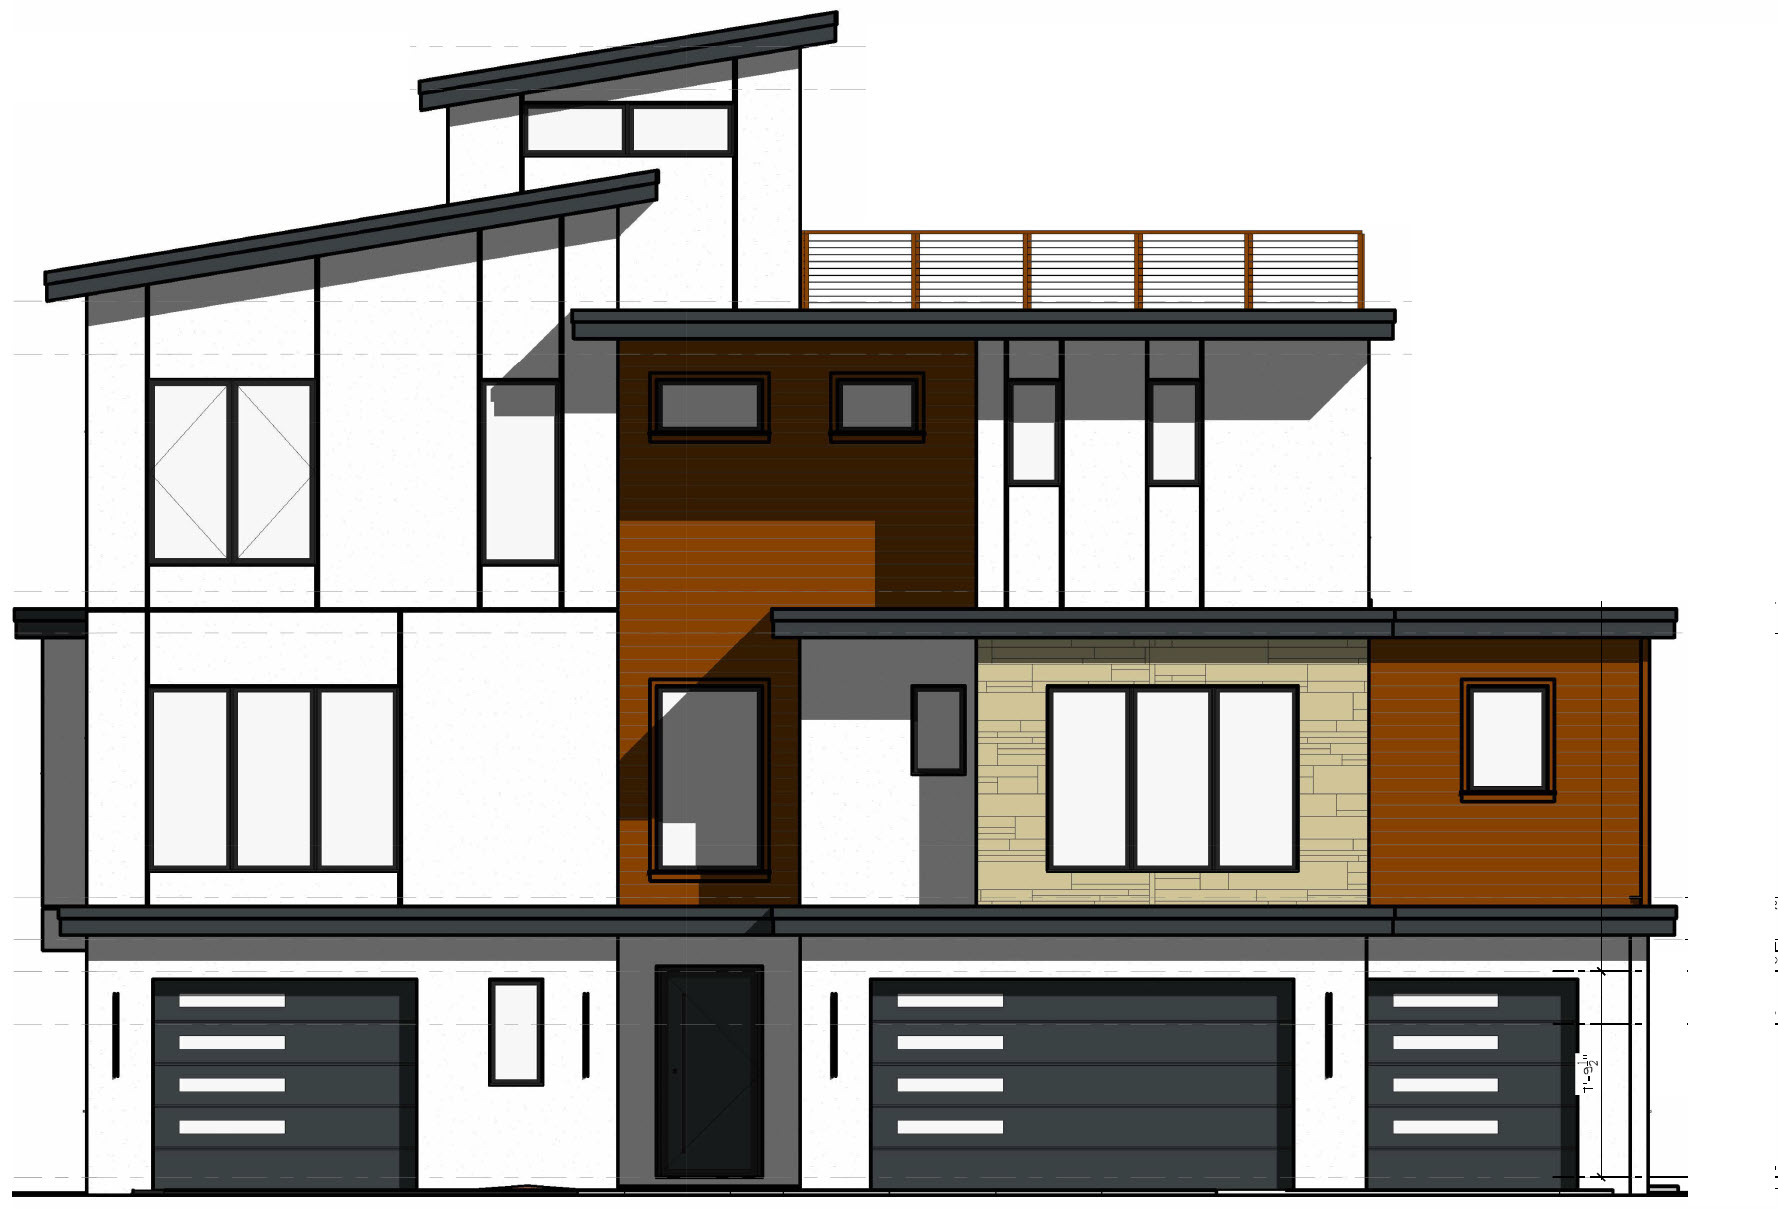
Upload your elevation
Click + New. Upload a front (or primary) elevation with readable massing, roof lines, and window rhythm. High contrast helps.

Use the Assistant
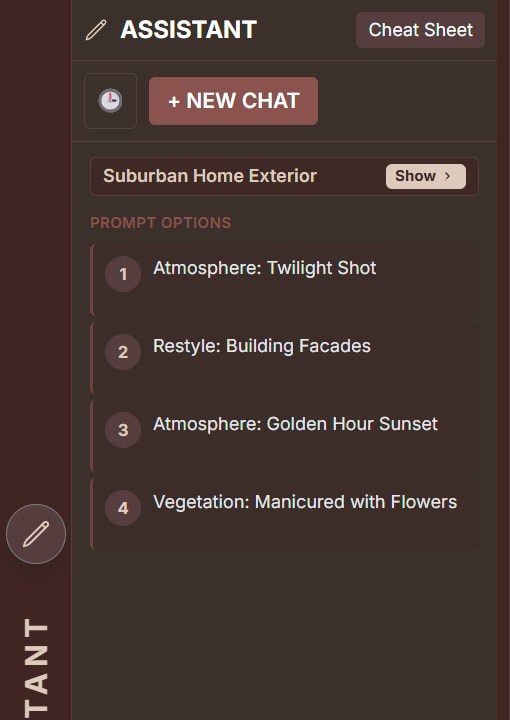
Open the Assistant and click a Prompt Option—or paste a prompt from the paths below.
Path 1 — Elevation + background
Best for presentations, listings, and curb-appeal studies—materials, landscaping, and daytime sky.
Example: 3D Elevation + Background
Prompt
Change to a PHOTOREALISTIC MODERN architectural rendering, detailing the building’s textures, colors, and landscaping. Retain all the architectural details of the image. Render as a photorealistic daytime scene. Maintain consistency.Path 2 — Elevation on white
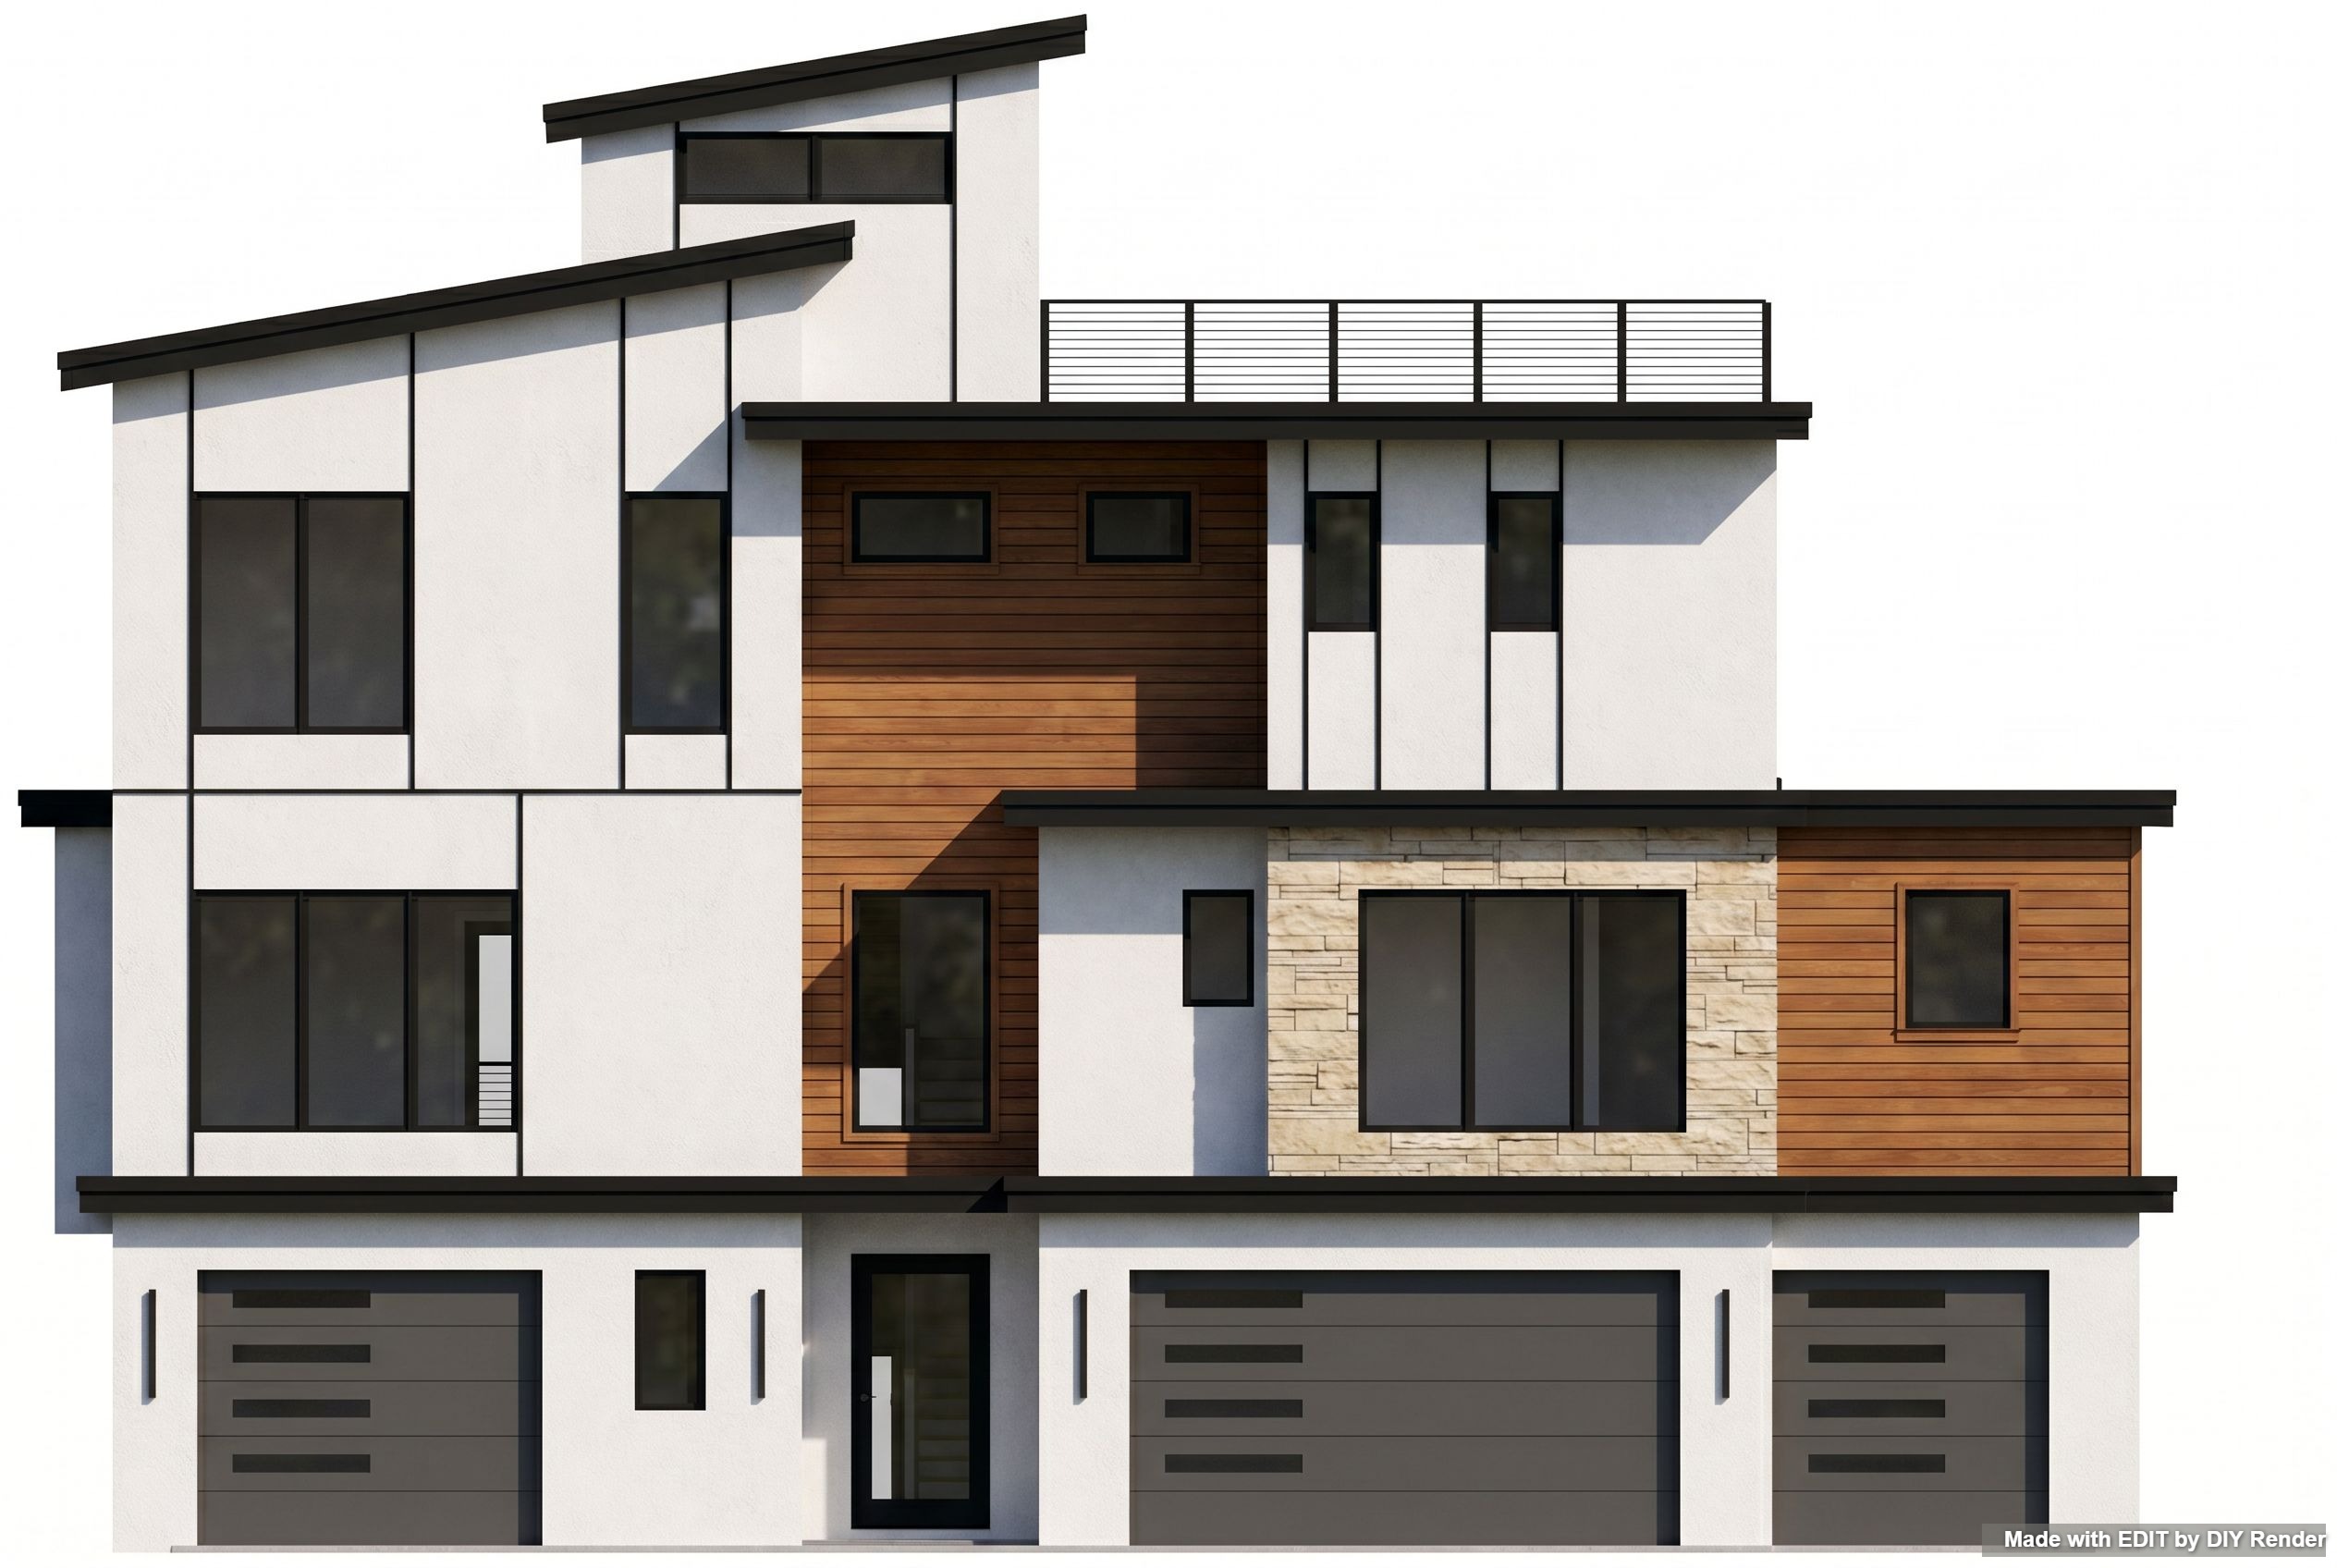
Best for boards and print—building only, no site context.
Example: 3D Elevation
Prompt
Change to a photorealistic architectural 3D elevation rendering. Maintain composition. White background.Keep the elevation’s framing stable—you’re upgrading the render, not inventing a new camera.
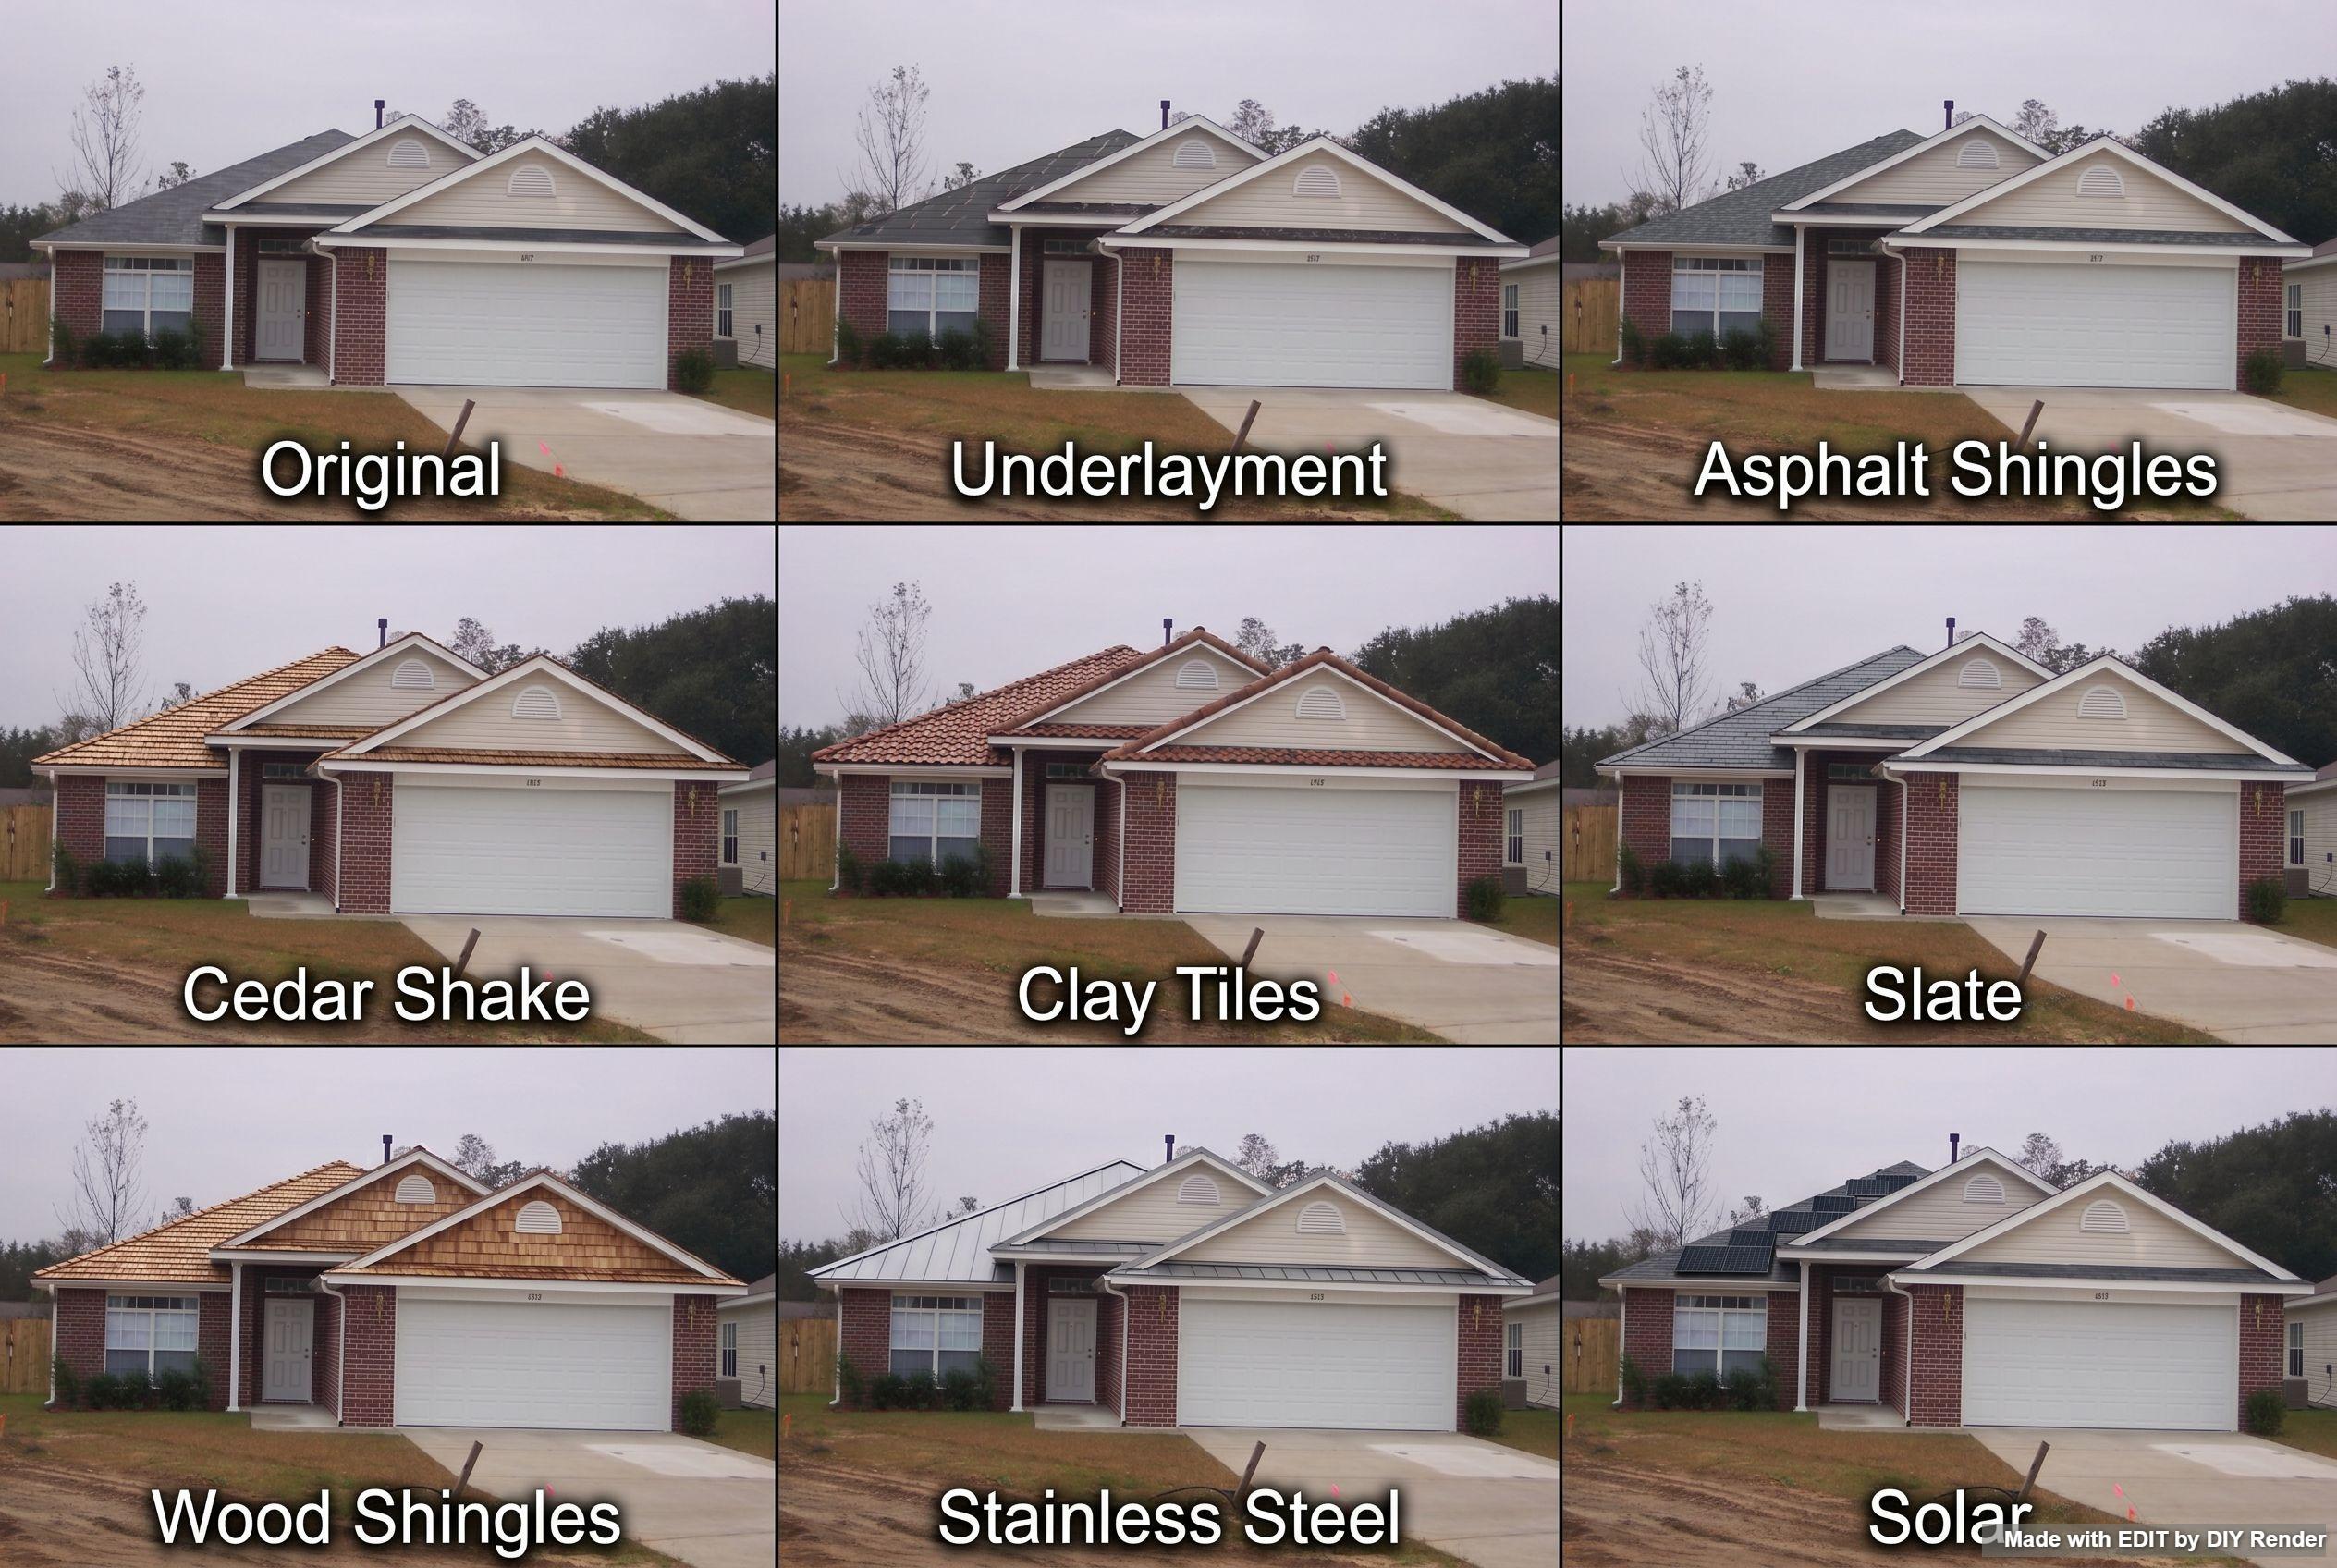
Go Further: Compare roofing styles
Run a Roofing Styles grid on your render to see roof options side by side—then Enhance the panel you like.
Grids are only available in EDIT. Find them via the Assistant Cheat Sheet, or click Grids above the main prompt area:

Example: Roofing Styles
More guides
Same app—different job:
- Roofing & Facades — roof swaps, Multi-Roofs, facade packs
- Exterior Restyle, Light & Landscaping — restyle a house photo
- Styles — listing photo or illustration from a render
Browse every how-to with previews: All guides.
Turn your elevation into a 3D render.
Try EDIT free — no credit card.